
Sad Cow Horn Disease
Replacements for pre-MY94 Esprits
The Esprit's known for not sounding like a supercar. Poor engine note for such a great performance car disappoints some. Exhaust are fitted and cat's are removed. Another sound is often complained about, but less is done. The Esprit's horn in LEW's experience is probably the weakest sound coming from the supercar.
We'd been living with a weak horn since we purchased the car. Our previous Esprit also had the same weak sound, we have also heard of other owners complain about the weak sound. We're guessing the horn design is probably very old and not made of great quality materials. Being safety equipment, it shouldn't really be overlooked. Time to change that.
LEW's Esprit was due it's yearly test (MoT) and a horn wasn't working at all, which is a failure. We had a buzzing noise from the front, but no horn. LEW's Esprit had lost it's MoJo! Investigating the problem we found the horns looking worse for wear and probably beyond help after nearly 14 years under our Esprit. We invested in a new kit to give our Esprit it's horn back.
Fitting
This job will take about 45 minutes and isn't particularly difficult.
|
You will need the following parts: New
Horn kit |
You will need the following tools: Screwdriver |
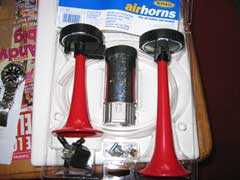
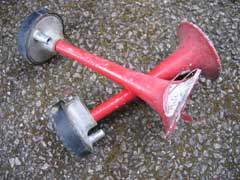
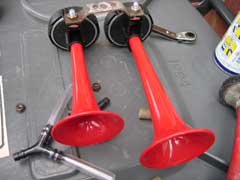
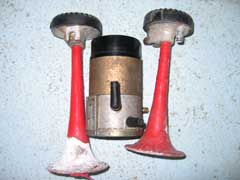
The Horn kits comes with a compressor, pipe, fixings, relay and two horns. Luckily enough the kit was almost a replica of the Lotus version, making the fitting extra easy. The horns are located at the front left of the Esprit, just behind the bumper. Jack the Esprit up at the corner to gain access to the panel underneath the horns.
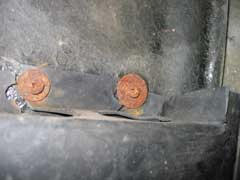
The two screws holding on the panel are towards the centre of the car. Undo these and remove the panel. You may find a clip opposite the panel that will need removing.
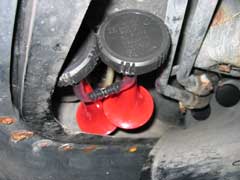
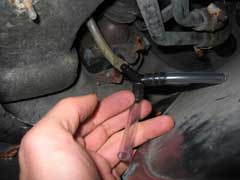
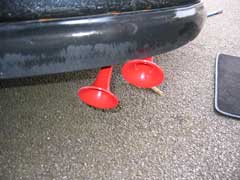
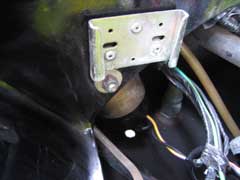
Once the panel is removed you should be able to see the horns. The picture above is of the new horns, as we didn't get a pic of the old ones. One Nut holds the horns to the car. Remove this and you should be able to pull the horns out and disconnect the piping from them. Remove the Y-piece, as this is being replaced.
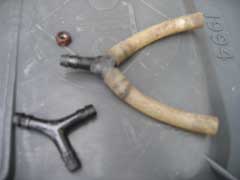
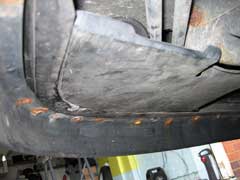
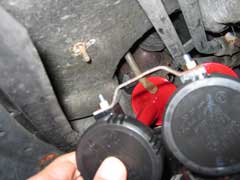
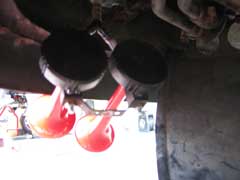
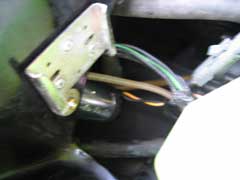
You can see above the pipe coming from the compressor. On our SE our compressor was working ok, but the horns where looking a little worse for wear after nearly 14 years under the Esprit. As was our Y-piece, which will also be replaced.
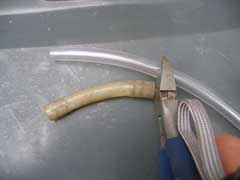
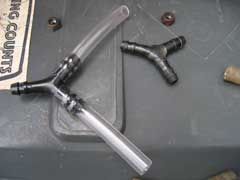
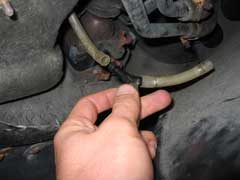
We cut our lengths from the pipe supplied to make up our new Y-piece. You can then reattach it to the pipe from the compressor. The kit actually comes with a long enough pipe to replace the piece that runs down from the compressor, but after feeling around, it's fed through at least two pieces of the bodywork and as the old pipe was ok, we decided not to make things too difficult.
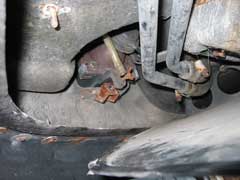
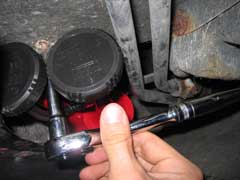
There wasn't a bracket with the new kit, so we used the old one. Remove the nuts and reattach the new horns. They are a little bigger than the old ones, so we gently bend the bracket to open the gap between the horns. On fitting we found them to be a little tight in the gap!
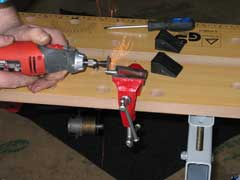
We dremelled off the top of the bolts that hold the horns to the brackets. About 5mm was removed, giving us enough room to fit the horns in. Still a tight fit though. We thought about mounting them as above, but on testing the horn before re-fitting, it was plenty louds as it was!
As you can see from above, the horns where turned in a little to fit in the space. The middle pic shows the bolts before we trimmed them. The gap between the top and the panel was pretty tight, so we also reversed the bracket to give a little more clearance.

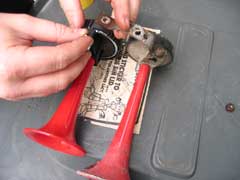
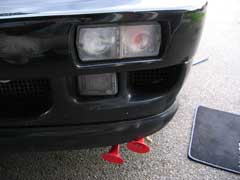
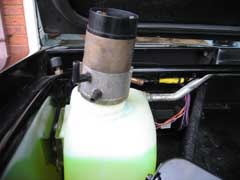
Tighten the nut and the horns are in. Replace the panel and thats the hard bit done. Our compressor was working fine, but as we had a new one (and it was an easy bit), we decided to fit it. Remove the washer bottle and the compressor is just behind it, in the wing. It's held in place with one nut. Remove the nut and take off the electrical connections and pipe.
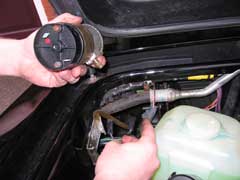
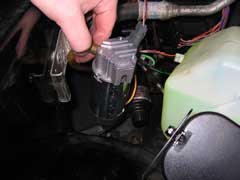
The old compressor pretty big and heavy compared to the new one. Connections are the same, so reconnect the pipe and electrical points and refit as the old one. The kit also comes with a relay, but we didn't use ours as everything was working.
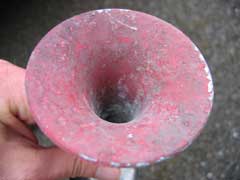
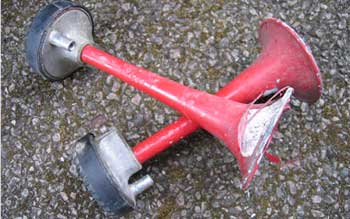
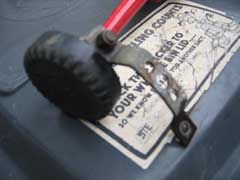
You can see the new smaller compressor fitting. Replace the washer bottle, clean up the fluid that leaked out and you're done! The old horn is shown above.
LEW's Verdict
We needed to get our horns working for our yearly test, so it had to be done. But we've been living with a pathetic horn since we'd had the Esprit. To be honest, we thought that was how they were and from what we've heard most Esprit owners have sad sounding horns, but it doesn't have to be like that. This kit looks the same, but sounds a thousand times better. To be honest it's a little too loud down our quiet street. But if we need to be heard, we will be now.
The cost of the kits was very cheap, the results are amazing. If you've got a case of Sad Cow Horn Disease, then this is the fix. We'll update this page and tell you if our new horns suffer from hitting the road. Hopefully we'll be good for a few year yet!
This mod was performed by LEW on their 1992 SE
If you have any comments, feel free to e-mail us at admin@lotusespritworld.com
If you're got a post MY94 Esprit, then see here or a guide to replacing the electric horns with air horns like above.
'Sad Cow Horn Disease' name was taken from the EspritFactFile.
![]()
|
|