Additional
Information
My
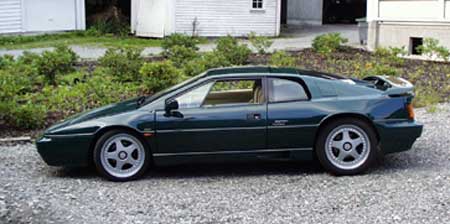
home town is Bergen in Norway, that is pretty far up north in
Europe. The various workshops involved in the project are all
locally based and listing their names has not been done due
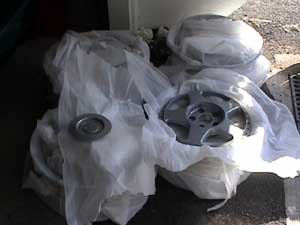
to the rather remote location. The rims were sold by a private
person in the UK and delivered by him to a transport agent in
UK who shipped them across the North Sea for me. I have made
a list regarding all direct cost involved with all details converted
to GBP at a exchange rate NOK/ GBP 12,00/ 1,00. Except for the
rims which were paid in GBP. NOTE, this project was far more
time consuming than anticipated and is not recommended for those
with lack of patient. Total costs were kept low thanks to my
friends who helped me with shipment and laser cutting.
Description
|
Cost |
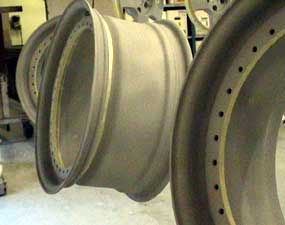
Rims
|
£200.00 |
Local
packing in UK
|
£19.08 |
Norwegian
VAT
|
£25.25 |
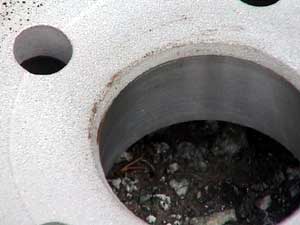
Dismantling
of old tires
|
£16.67 |
Sand
blasting
|
£83.33 |
Powder
coating
|
£166.67 |
Tires
front incl. assembly
|
£230.00 |
Tires
rear incl. assembly
|
£299.67 |
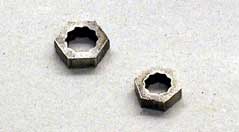
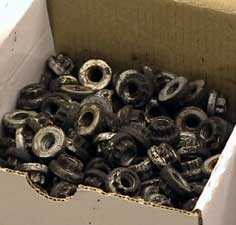
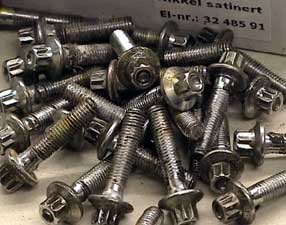
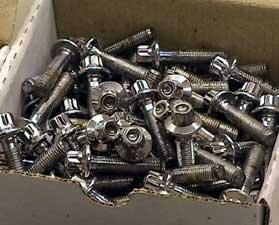
New
bolts
|
£37.50 |
| Total
|
£1,078.17 |
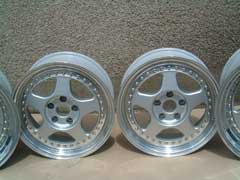
UK Alloy
Wheel Refurbishment
by Phil Copperwheat
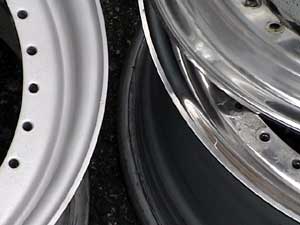
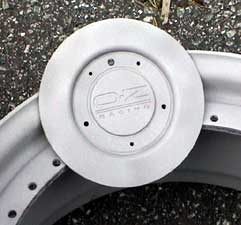
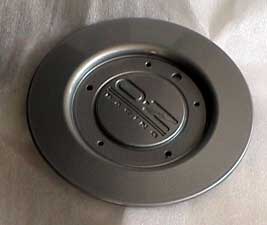
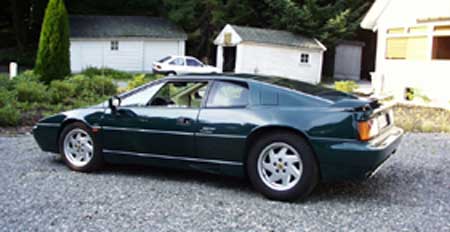
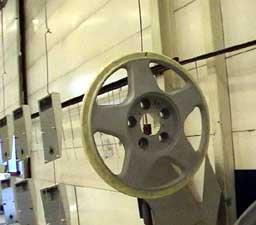
Basically
I searched everywhere for a company that could refurbish the
S4s alloy wheels and most importantly re-lacquer them, I found
a company that can refurbish them, but they won't re-lacquer
them as the process is very complex and if you don't get the
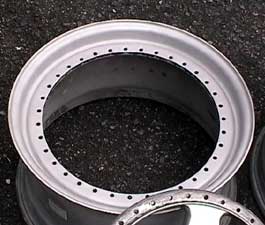
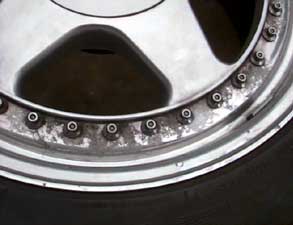
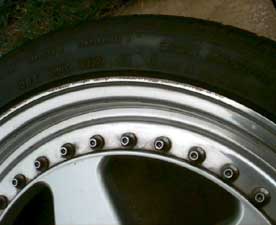
amount of lacquer spot on it will crack. I've heard of people
stripping the splits down themselves and undoing every single
bolt and doing a DIY job, I talked to OZ in the US and they
seriously advised against this as if you don't get it spot on
the stresses passed thought the wheel can make it buckle under
high speed cornering, definitely not a good idea.
Other
option is to buy a new wheel at £500 a go.
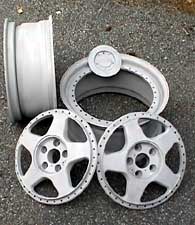
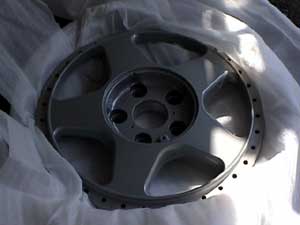
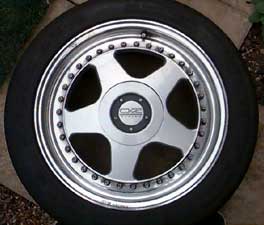
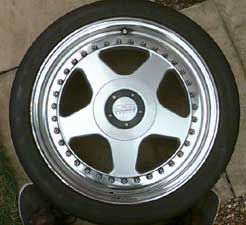
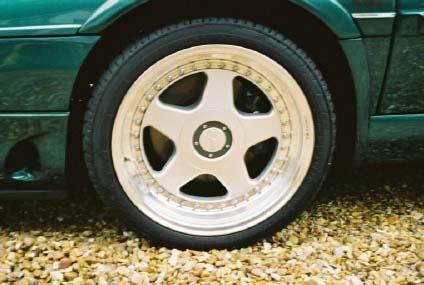
So
anyway after lots of research I ended up getting one front and
one rear refurbished at a company called "Pristine"
they did a great job and the wheels looked the nuts absolutely
great, problem is they were not lacquered. So to keep them in
good condition you need to wash them regularly and if your leaving
it for a week or more you just need to spray some WD40 on them
to keep them in good nick. If I had the problem over again I
would do exactly them same and get them done without the lacquer.
I
paid £110 + VAT per wheel to get the tyres taken off,
wheel refurbished, tyre back on, new valve, and balanced. It
took one week from dropping them off to getting them back.
Pristine
Alloy Wheel Refurbishers Ltd
Newport Road
Woburn Sands
Milton Keynes
MK17 8UD
Tel: 01908 282628
Check
out their web site for more info on process etc: www.britisha2z.net
Do
not worry about them not being lacquered, look after them and
keep them clean and they will be fine, but make sure if it it's
left outside for more than a week you spray the wheels and if
possible don't put them away dirty. Once you get them refurbished
they will look like new and are the dogs bits, look very cool.
BUT KEEP THEM CLEAN!!!!
Giugiaro
Owners
If you've got BBS silver and gold wheels, here's a
couple of
tips I've found over the years of ownership. Especially
in a British climate, or anywhere likely to have rain I guess
;-)
I
stress this is only good for shiney silver - I've seen one
or two BBS which have matt silver - Don't do this
if your's
aren't shiney.
After
a good wash and rinse, and on a cloudy day (sorry, Californians!),
use silver cleaner (called silvo in the UK).
It's got a soft
wirey pink cloth inside, soaked in gunk. Rub it in the
direction of the wheel and DO NOT touch the gold bits. It's
hard work
and you need to throw away a lot of cloth as you go. The
cloth will ooze grey muck, which is the road-cr@p on your
wheels.
Then
rub off with a dry lint-free cloth (I use Halford's pack
of 20). Then the final trick is to use car-wax, a
good quality
one. I use Simoniz blue diamond. All over the silver
and gold. Let it dry then buff.
That
way the wax protects your wheels from the elements. I probably
do mine once every year or two, but then it
doesn't see much rain.